Not sure how to float your images on white? This post is dedicated to teaching you our floatin’ ways. Read on!
Hey ya’ll! Way to keep up your blog reading. You’re doing such a fine job!
So a couple of weeks ago we mentioned how much we loved Emily’s folio prints floating in a sea of white space…now you’ve got the itch to do something similar. We know. We do too. In honor of these creative desires we bring you another helpful tips post! This entry is what we would like to call: Print that Floater!
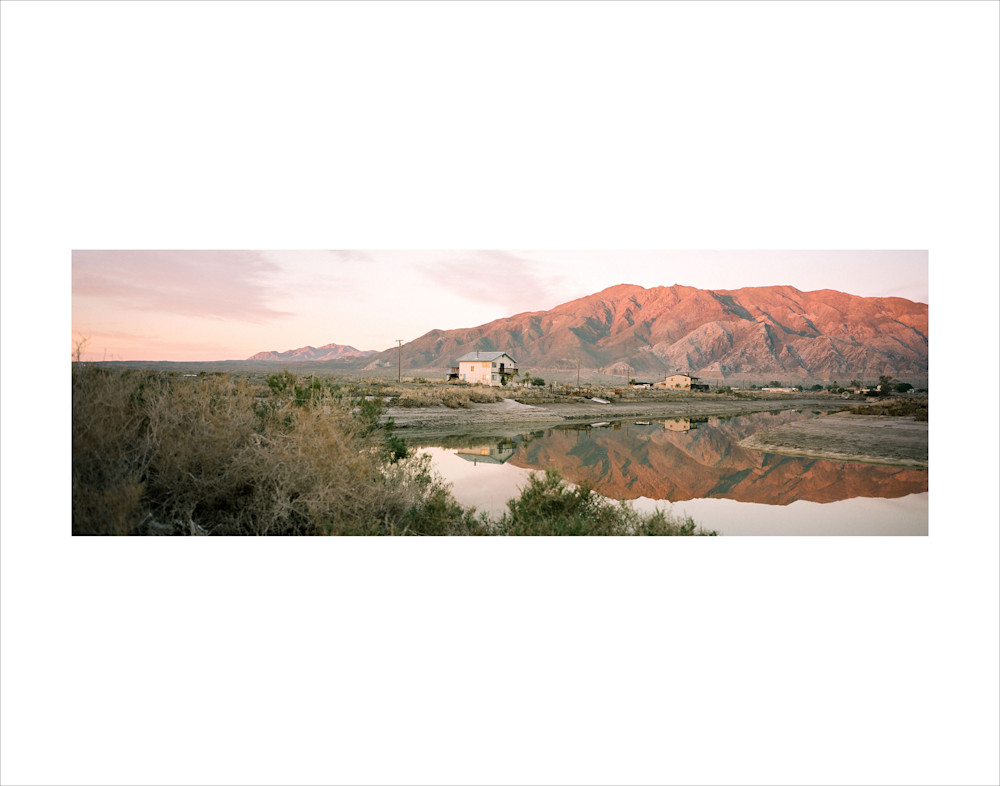
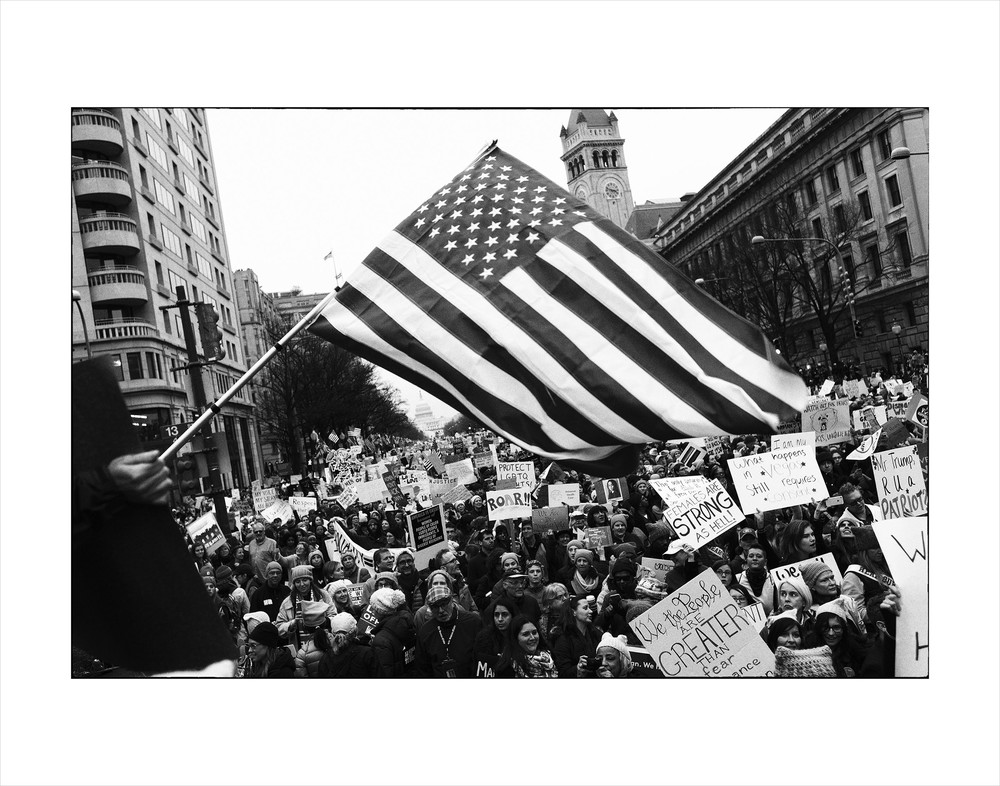
Floating Image: your image is smaller than your paper size therefore making it appear as though your image is floating in a sea of white space. It appears that way because, well, because it is literally printed in a sea of white space. As seen above in Kyle Myles’ photo.
Why would you do this you ask? Because, with the right image, it is so visually perfect. Because you’re needing to accommodate large and small images on the same page size in your portfolio. Because you’d rather spend a little bit more on your print and a lot less (a.k.a. About $30.00 depending on the mat size) on a custom mat for your frame. Because you just want to try something different. Because, as Emily says, “you want your image to breathe.” That’s why.
A couple of clients are interested in this idea and we have figured out an easy solution to make ordering easy. We have two options based on the program you use most or prefer. Here is what you’ll do in either Lightroom or Photoshop:
Lightroom:
- We’ve made easy to use templates1 that you can download here.
- Once you’ve downloaded the templates you’ll drag them into Lightroom.
- Import your images you’d like to float.
- Open the Print module of Lightroom.
- Select the template size and then select and drag your photo into the photo box.
- Choose ‘Print to File’ in the lower right corner to export your image as a jpeg or tiff.
- Upload at www.tweekimaging.com to print.
Photoshop (Watch this video or follow the instrutions below):
- Open your image in photoshop.
- Size your image to the size (Image > Image Size) you’d like it to be. Make sure your resolution is an acceptable size.2
- Update your canvas size (Image > Canvas Size) to the final print size.3
- Save as a jpeg or tiff file.
- Upload at www.tweekimaging.com to print.
Got it? If you have trouble or need more information please email or call us for some help! There are no dumb questions. Only dumb answers. Am I right?! Don’t let these extra steps scare you from trying something new! It will be super easy the next time you work on them and after you print an image this way you’ll be hooked.
We can’t wait to see what you send our way! Maybe we’ll even share it with our friends on the world wide web.4
- Feel free to make your own template…these are just some to get you started that we have had requests for in the past.
- This includes the resolution and dimensions you’d like the image to be inside of the white space. Resolution: 300 dpi is awesome, 200 dpi is great, 150 dpi is acceptable. Size (in inches): When sizing your photo make sure to do it in small increments to get better results. Here’s a great article if you’re a little confused. You can make your photo standard sizes or you can go with something based on your image itself. This is all up to you.
- Your canvas is the size of the whole piece. So say you are hoping to fill an 11×14 frame size…your canvas will be 11×14 and your image whatever size you’d like. Changing your canvas size does not effect your image resolution.
- Thank you again Al Gore for inventing this web we can share things on. What would we have done without you/it?!